· 2 min read
My Lightroom editing process for natural landscapes
How I edit so a misty morning on the Levels still looks like a misty morning on the Levels.
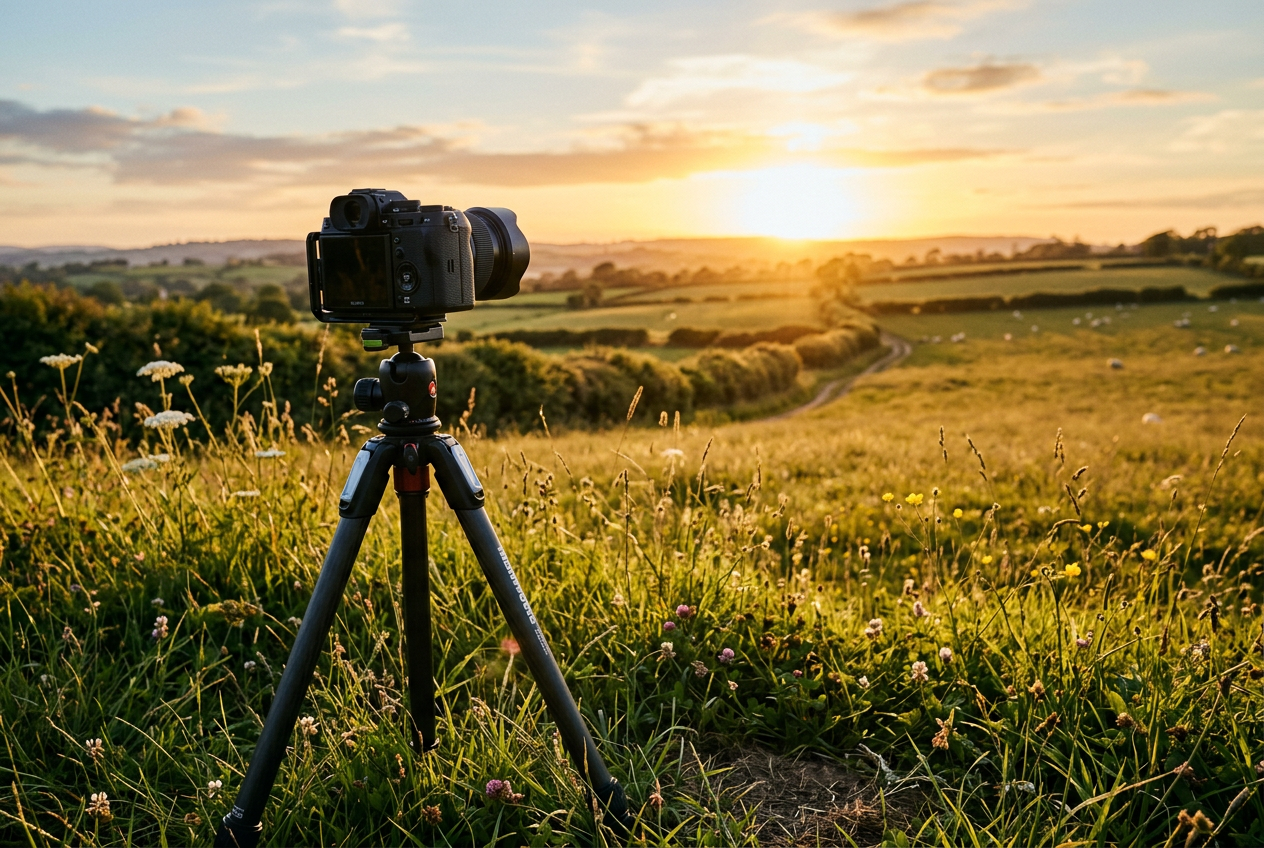
My one rule when editing is that the picture should look like the place felt. Not brighter, not more dramatic. Just closer to standing in that field at that time with cold hands.
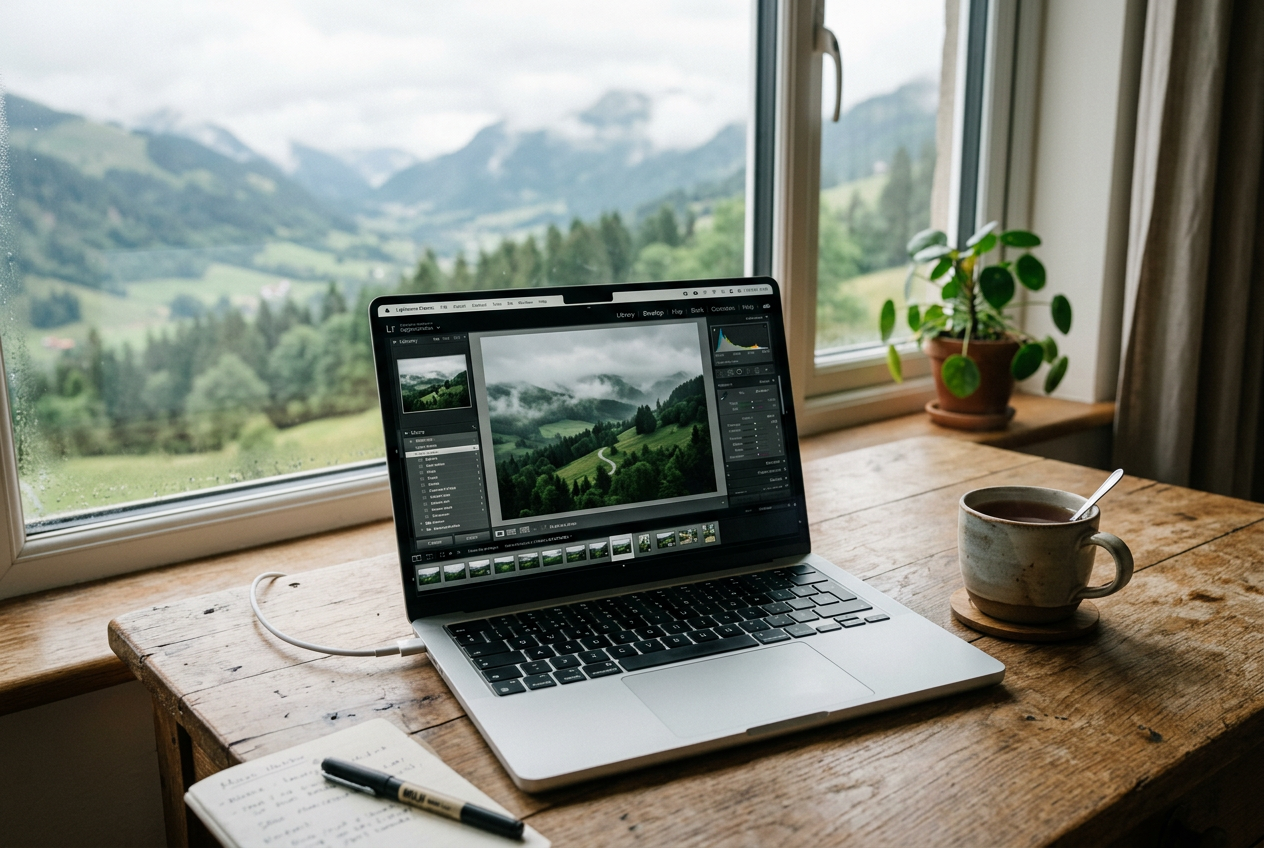
Here is the process I use for almost every landscape, in the order I do it.
1. Pick fewer pictures
I usually come home with two hundred frames. I flag about ten and edit three. The hardest part of editing happens before any sliders move.
2. Fix the white balance first
I set white balance on something I know is neutral, like a pale stone wall or a cloud. Then I nudge it slightly warmer for sunset or slightly cooler for a frosty morning, because that is what my eyes remember.
3. Exposure and highlights
I bring the highlights down until the sky has detail, then lift the shadows a little so the hedges are not black holes. If I have to push either slider past about forty, I usually just took the picture at the wrong moment.
4. Gentle contrast with the tone curve
A very soft S curve. Mist is supposed to be low contrast. If you add too much, it starts to look like smoke.
5. Colour, carefully
I almost never touch saturation. Instead I use the colour mixer to calm down greens, which cameras love to exaggerate, and occasionally warm the oranges in a sunset by a few points.
6. Local adjustments
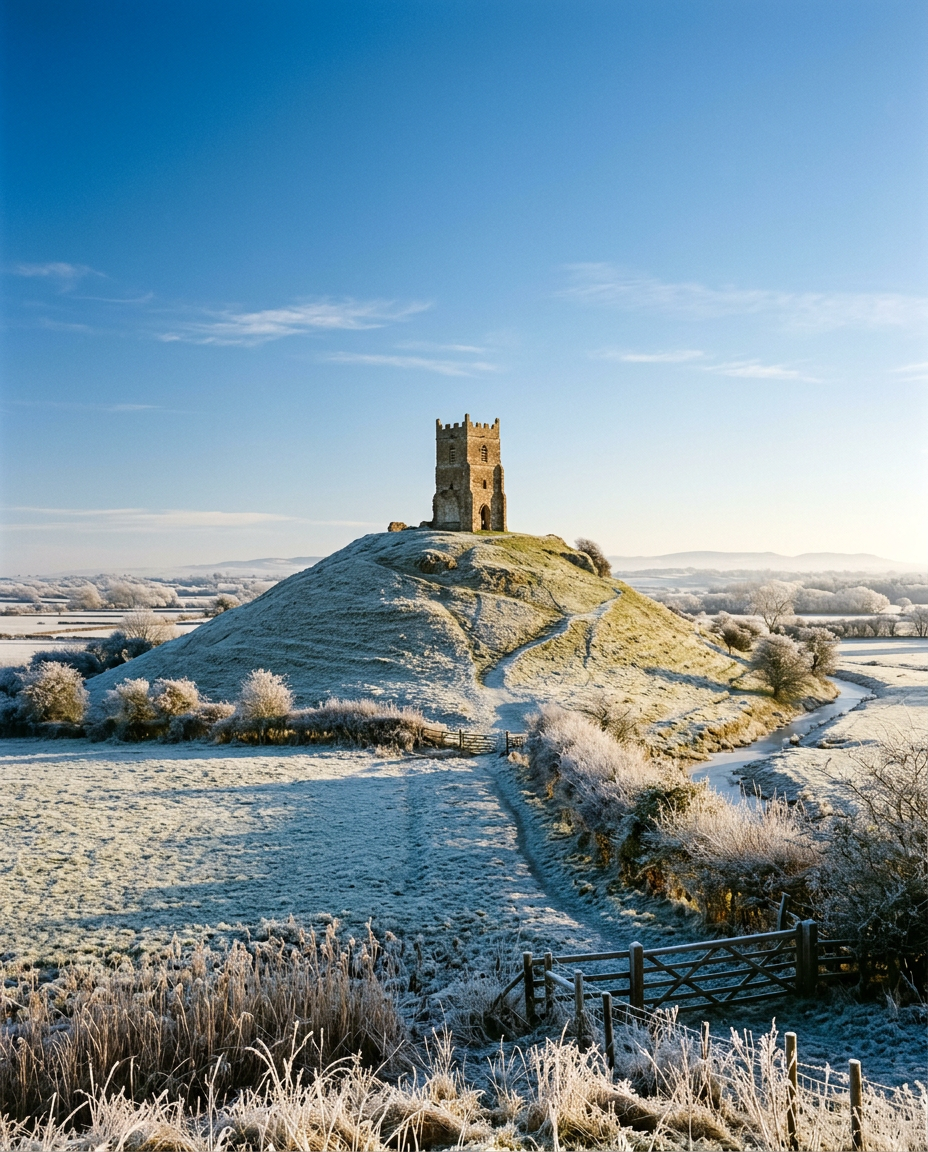
A soft radial mask to lift the subject, like the Tor or a willow, and a gentle graduated filter on the sky. That is it. If someone can tell where I masked, I have done too much.
7. Walk away
I leave the edit overnight and look at it again with tea in the morning. About half the time I take something back out.
Presets
I do use a starting preset I have built over the last year, but every picture still needs its own decisions. I might share it one day, once I trust it more than I currently do.